

The back porch steps at my house are four risers and a landing, and for most of my life I went up them without thinking. Then, at 64, I came around the corner with a bucket of potatoes, caught my toe on the second riser, and did one of those slow staggers where your arms pinwheel and your heart ends up in your throat. I did not fall. I set the bucket down and sat on the landing for a while. My doctor checked my heart, said it was fine, and told me my legs and balance were the issue.
I am 68 now, retired after 31 years carrying mail on a rural route, and I exercise in the spare bedroom upstairs and on the back porch when the weather is decent. The tool that made the biggest difference on my stairs was a pair of Sportneer adjustable ankle weights, a kitchen chair, and ten minutes of leg work folded into a routine I already had. I am not a trainer. I have a stiff right knee and some morning tightness in my lower back, and I have no interest in a gym.
The stairs get easier when the small muscles get their turn
The Sportneer pair adjusts in one-pound steps from 1 to 5 pounds on each ankle, which means you can start at a weight that feels almost silly. That is the point. Check the strap fit against your ankle before you do anything else.
Amazon See the Sportneer ankle weights on Amazon →Step 1: Check the fit and start at 1 or 2 pounds per ankle
Before you take a single step, put the weights on and check the strap. The Sportneer pair fits ankles from 7.5 to 12.5 inches, and the hook and loop closure should sit snug above the ankle bone without pinching. If the strap feels tight over a thick sock, try a thinner sock or a different position. A weight that shifts while you move is worse than a lighter weight that stays put. I check mine every time I take them out of the basket, because a strap that was fine in January can feel different in July. I set it so I can slide one finger under the band, and I check it again after the first set, because the neoprene can warm up and shift a little.
Each side adjusts from 1 to 5 pounds, and the pair adjusts from 2 to 10 pounds, by adding or removing the inner weights. The inner weights come out one at a time, so you can go down as easily as up. That matters on a bad morning. I started at 2 pounds per ankle because 1 pound felt like a formality, and I regretted nothing except my pride. Start at 1 pound if your knee is angry or your balance is uncertain. There is no prize for beginning at 4. Put both ankles at the same weight. It is tempting to load the stronger leg, but uneven weight teaches you to limp through the movement, and limping is the habit you are trying to unlearn.
Take the weights off if you feel a sharp pain, numbness in your foot, or a twinge that does not settle in a minute. I am not a doctor, and I would rather you ask yours than take my word for it. My doctor looked at my knee, asked what I planned to do, and told me to keep the range small and the weight light for the first month. That was good advice. The basket by the spare-bedroom door is where my pair lives, next to the notebook, so I see them before I talk myself out of the session.
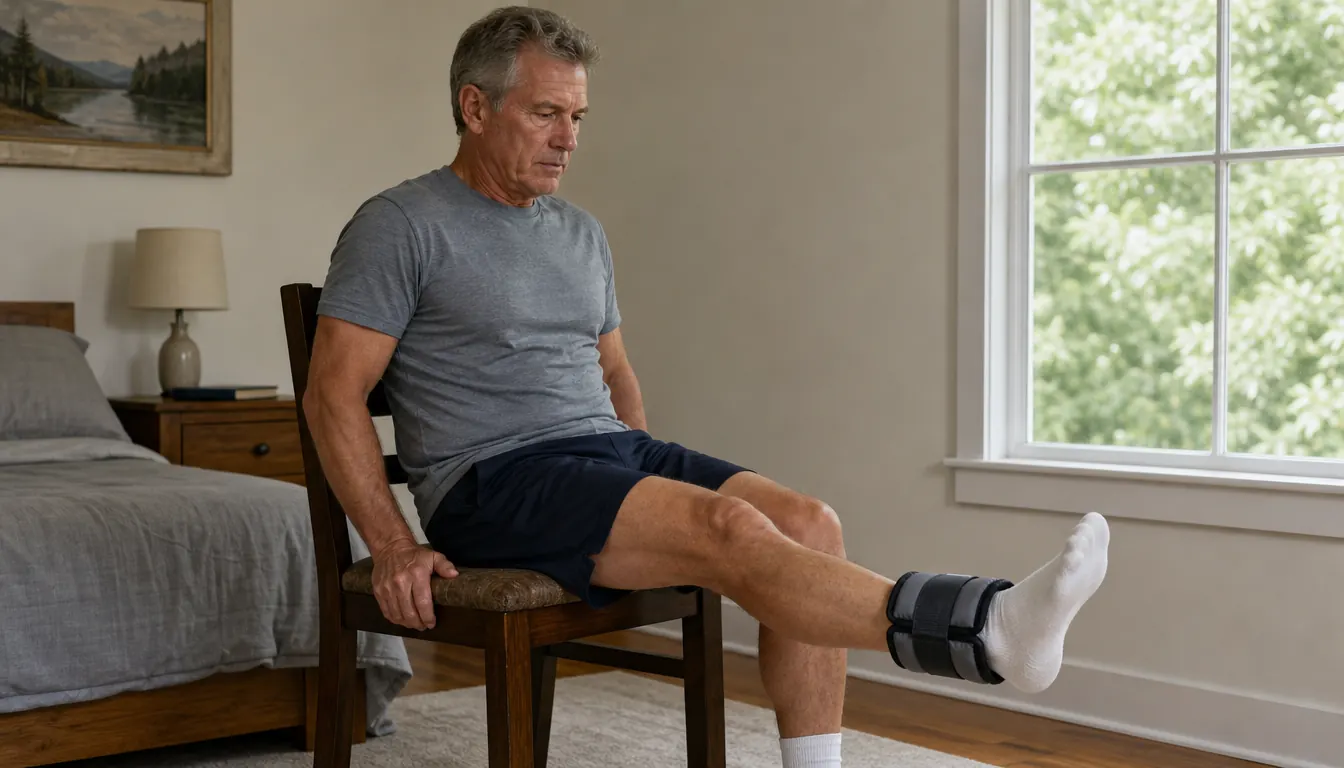
Step 2: Seated leg extensions, slow and boring
Sit in a sturdy kitchen chair with your back against the backrest and both feet flat on the floor. Put the weights on while you are sitting, not standing, so you are not balancing on one foot with a strap in your hand. Straighten one leg until it is nearly level with the seat. Do not lock the knee. Hold for a count of two, lower for a count of three, and let the foot rest on the floor between reps. Start with 8 to 10 reps per leg, one set. That is the whole exercise. It looks like nothing, which is why I ignored it for the first two weeks and stayed sore in the wrong places.
The first time I did these with 2 pounds, my right knee made a small complaint on the third or fourth rep. I stopped at six, iced it that evening, and tried again two days later. The next week I got through ten. The weight did not change for a month. What changed was the control. I was no longer swinging the leg and letting momentum do the work. If you have ever carried mail up a long driveway, you know the difference between a steady pace and a lurch. This is the steady pace. The slow lowering is the part that counts, and it is the part I used to rush.
Keep the movement small enough that your back stays against the chair. If you find yourself leaning back to lift the leg, the weight is too heavy. Drop a pound and keep the backrest honest. I do these on the mornings I do not feel like doing anything, because they take less willpower than the rest of the routine. Ten slow reps per leg, then I am done. Some mornings I do a second set after a minute of rest. Most mornings I do not, and the stairs still improved. The goal is not to feel the burn. The goal is to finish the set with the same control you started with.
Step 3: Standing side leg lifts at the kitchen counter
Stand facing the kitchen counter or the dresser in the spare bedroom and put both hands on it. Stand close enough that your arms are not fully straight. Keep your hips square and lift one leg out to the side, about a foot off the floor, with the knee straight. Do not swing it. Lift for a count of two, lower for a count of three, and keep your standing foot flat. Start with 8 reps per side and one set. If your hip drops or your torso leans, reduce the height of the lift before you reduce the weight.
This is the exercise that made the biggest difference on my porch steps, because it works the muscles that keep your hip from collapsing when you shift your weight from one step to the next. When I started, my right hip wanted to drop and my whole body leaned left. I did not correct it with force. I corrected it by slowing down and using 2 pounds instead of 4. The leg does not need to go high. It needs to go out with control. The counter is there for balance, not for pulling. If you are gripping it hard enough to turn your knuckles white, move closer or take the weight off.
The Sportneer weights sit above the ankle for this one, and the strap needs to stay put while your leg travels sideways. If it slides, tighten the strap one notch or drop to 1 pound. If the strap leaves a mark, it is too tight, not too loose. I wear them over a thin sock in the winter and on bare ankles in the summer. After one set on each side, I put my hands on my hips and take five slow breaths before I move on. That pause is not decoration. It keeps me from rushing to the next thing and doing it badly.
Step 4: March in place, then take the weights off for the stairs
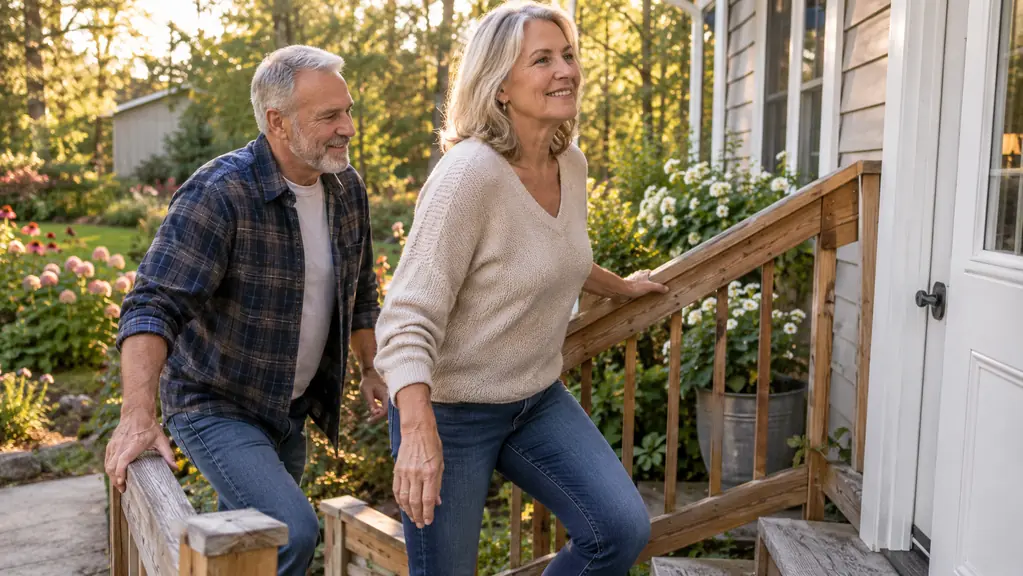
Stand near the counter and march in place, lifting each knee to about the height of the bottom step. Start slower than feels natural. Keep your torso upright and let your arms swing a little. Do this for 30 seconds with 1 or 2 pounds per ankle, then rest. If your balance is not dependable, keep one hand on the counter the whole time and do not lift the knee as high. The goal is not a workout. The goal is teaching your feet to leave the floor and come back down under control. If you need to sit down between sets, sit down. That is not a setback.
Here is the part that matters. I do not wear the ankle weights on the stairs, and I do not wear them walking outdoors or running. The Sportneer pair stays in the spare bedroom. When I practice the porch steps, the weights come off first. That is not caution for its own sake. A weighted foot is harder to lift and harder to stop, and the stairs are the place where you need both to be reliable. The weights build the muscle. The unweighted stair practice teaches the muscle what to do. A friend of mine wore his up and down his cellar stairs once and scared himself. Once was enough.
Start with the bottom two steps and the rail in reach. Step up with one foot, bring the other foot up beside it, then step down the same way. Do that five times, rest, and do another five. Say the steps out loud if it helps: up, together, down, together. When that feels dull, add the third step. When the rail feels like a formality, take your hand off for the last two reps and keep it close. That is how the porch stopped being an event for me. I still use the rail when I am carrying something. The goal is not to prove anything to the rail.
Step 5: Add one pound at a time, not one more rep
The temptation is to add reps, then sets, then speed. Do not. Add one pound to each ankle when the current weight feels genuinely easy for two full weeks, not when you are bored. I went from 2 pounds to 3 after about six weeks, and from 3 to 4 after another two months. I have stayed at 4 for a while. The pair goes up to 5 pounds per ankle, and I may get there. I am in no hurry, and the stairs do not care how fast I progress. The stairs are a long game, and the long game rewards patience more than effort.
Use the same reps and the same slow count when you add weight. If your form changes, you added too soon. Signs to back off: your knee is swollen that evening, your lower back is tighter than usual the next morning, or you are limping on the way to the coffee pot. Take a pound out for a week and see if the signs settle. If they do not, call your doctor or physical therapist. That is not failure. That is information, and it is cheaper than ignoring it. A week off is not a collapse. I take one when the garden is busy.
I keep a small notebook in the basket with the weights. It has dates, weights and a word or two about how the knee felt. I am not a data person, but I am a person who forgets. The notebook is how I know I have been at 4 pounds for eight months and not four days. It is also how I know the seated extensions are the exercise I skip when I am rushed, which is the one I should protect. The Sportneer pair has held up through all of it, and the strap still grabs the same way it did the first week.
Two pounds per ankle felt like nothing for the first week. Four pounds, two and a half years later, is what gets me up the porch steps without reaching for the rail every time.
What Else Helps
Ankle weights are one tool in a small kit. The other three things that helped me most were a seated elliptical, a set of flat resistance bands and a foam balance pad. The Cubii lives under the desk in the spare bedroom and I use it for 15 to 20 minutes on the mornings my knee is stiff, because it gets the joint moving without asking it to carry my weight. The bands hang behind the door for seated rows and shoulder work. The balance pad is on the floor next to the dresser, and I stand on it for a few minutes with one hand on the dresser. In summer it becomes my garden kneeler, which is the best use I have found for it.
None of this replaces a doctor's advice. My daughter Karen is a nurse, and she was the one who told me to stop treating the porch steps as a test of will and start treating them as a skill. That reframing did more than any single exercise. My doctor checked my knee and my heart and told me the plan was reasonable. If you have numbness, a knee that gives way, or balance that has changed suddenly, get that looked at before you add weight to anything. The rest of us can start small and be boring about it. Boring is what works.
Start lighter than you think, and give it eight weeks
The pair goes from 2 to 10 pounds together, and the one-pound steps are the whole point. If your knee is stiff or your balance is not what it was, clear it with your doctor or physical therapist first. Then put the weights in a basket where you will see them, and do the boring work.
Amazon See the Sportneer ankle weights on Amazon →